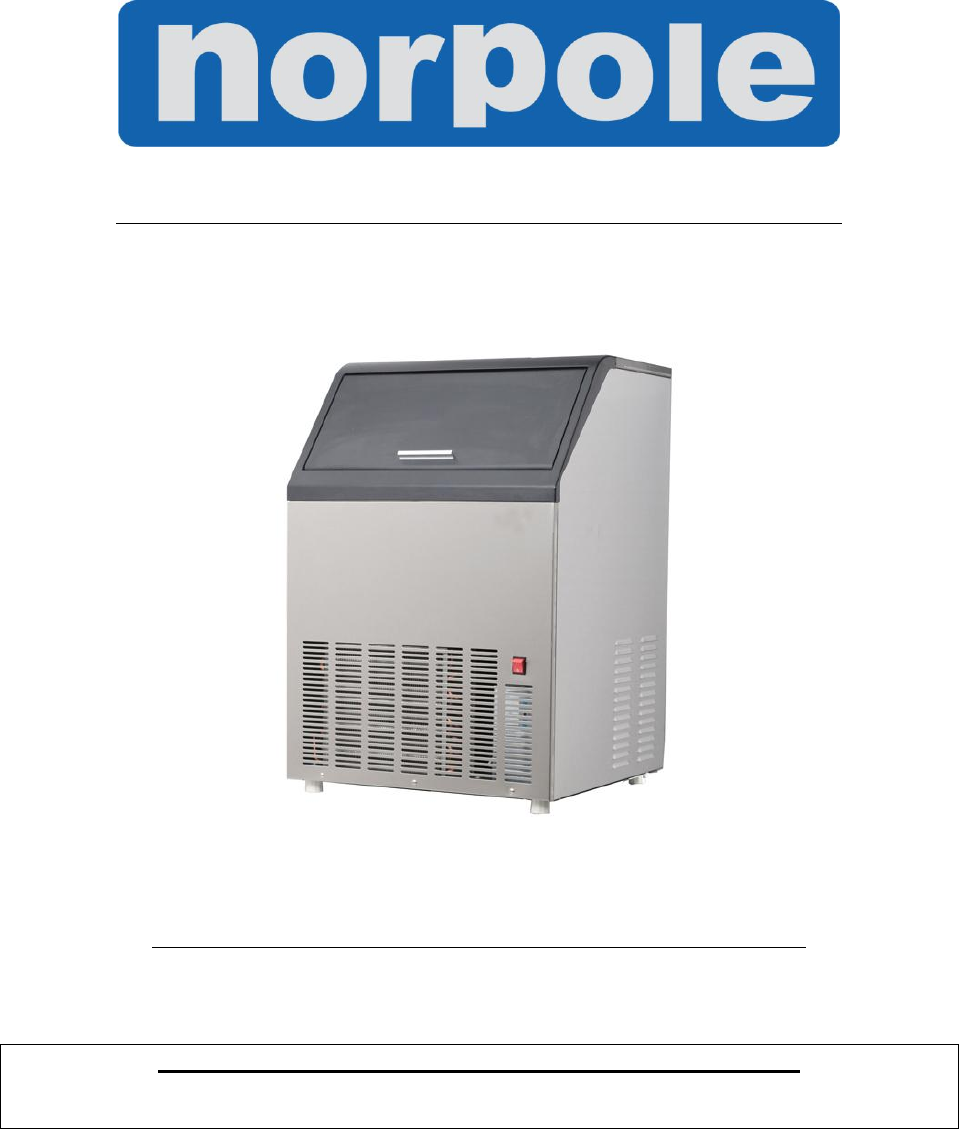
Norpole EWCIM65S Use and Care Manual
Browse online or download Use and Care Manual for Ice cube makers Norpole EWCIM65S. Norpole EWCIM65S Use and Care Manual User Manual
- Page / 59
- Table of contents
- TROUBLESHOOTING
- BOOKMARKS
- Automatic Ice Maker 1
- User’s Manual (pages 1-28) 1
- TABLE OF CONTENTS 2
- ICE MAKER SAFETY 3
- IMPORTANT SAFEGUARDS 4
- SAVE THESE INSTRUCTIONS 5
- Technical Information 6
- INTRODUCTION 7
- COMPONENT LOCATIONS 8
- ICE MAKER INSTALLATION 9
- Electrical Requirements 11
- Leveling the Ice Maker 12
- Installation Types 14
- OPERATION 15
- Operating Method 16
- How the Machine Makes Ice 16
- Normal Sounds 17
- CLEANING AND MAINTENANCE 19
- Condenser Cleaning 20
- Interior Cleaning 21
- Ice Making System Cleaning 23
- (behind front cover) 25
- MAJOR FUNCTIONS 26
- TROUBLESHOOTING 27
- LIMITED WARRANTY 29
- ADVERTENCIAS DE SEGURIDAD 32
- CONSERVAR ESTAS INSTRUCCIONES 34
- Información técnica 35
- INTRODUCCIÓN 36
- UBICACIÓN DE COMPONENTES 37
- DE LA MÁQUINA 37
- Lado derecho 38
- Parte trasera 38
- Frente del unidad 38
- Peligro de electrocución 40
- Nivelación de la máquina 41
- Herramientas necesarias: 42
- Conexión de la línea de agua: 42
- Tipos de instalación 43
- Instalación en cerramiento: 44
- Instalación empotrada: 44
- USO DE LA MÁQUINA 45
- Método de uso 46
- Sonidos normales 47
- LIMPIEZA Y MANTENIMIENTO 49
- Limpieza del condensador 50
- Limpieza interna 51
- (detrás de la tapa frontal) 55
- FUNCIONES PRINCIPALES 56
- DIAGNÓSTICO DE FALLAS 57
- GARANTÍA LIMITADA 59
Summary of Contents
Automatic Ice Maker Máqina Automática para Hacer Hielo User’s Manual (pages 1-28) Manual del usario (páginas 29 a 58) Be sure ice maker is standing
•To ensure proper ventilation for your ice maker, the front of the unit must becompletely unobstructed. Allow at least 101 mm (4”) clearance at rear,
•A standard electrical supply (115 VAC only, 60 Hz, 15 A), properly grounded inaccordance with the National Electrical Code and local codes and ordina
Leveling the Ice MakerIt is important for the ice maker to be leveled in order to work properly. It can be raisedor lowered by rotating the plastic
Connecting the water line:1. Turn off main water supply. Turn on nearest faucet long enough to clear line of water.2. Find a 1/2 in. to 3/4 in. vertic
Installation TypesThis ice maker has been designed for Mobile (free-standing) installation. It can also beEnclosed (as under a cabinet) or Built-in (s
5. If the electrical outlet for the ice maker is behind the cabinet, plug in the ice maker.6. Push the ice maker into position. 7. Seal all arou
Operating Method1. Switch on the Power switch on the rightside panel. The light will be on. The icemaker will start working automaticallyand feeding
Harvest: During the harvest cycle the compressor is still operating, but the water pumphas stopped. Two other components have been energized: the hot
•Water running from the water sump to the evaporator plate may make a splashingsound.•Water running from the evaporator to the water sump may make a s
CLEANING AND MAINTENANCEPeriodic cleaning and proper maintenance will ensure efficiency, top performance, andlong life. The maintenance intervals list
TABLE OF CONTENTSPageICE MAKER SAFETY · · · · · · · · · · · · · · · · · · · · · · · · · · · · · · 2IMPORTANT SAFEGUARDS · · · · · · · · · · · · · · ·
Stainless steel can discolor when exposed to chlorine gas and should be cleaned. Cleanstainless steel with a mild detergent and warm water solution an
Interior CleaningThe ice storage bin should be sanitized occasionally. Clean the bin before the ice maker is used for the first time and reused after
2. Take out the row of flake covers by snapping one end up and pulling forward.3. Remove the slideway from the water sump.4. Find the sprinkler
6. Wipe down the interior of the water sump with the de-scaling solution and warmwater. Rinse thoroughly with clear water. 7. Reassemble the sprin
5. Allow 30 minutes for proper cleaning. After cleaning, shut off the power switch, andunscrew the nut of the water-draining hole on the rear of the
Control Box (behind front cover)Descriptions of LEDs and buttons:1. Red LED: Ice Full indicator light. When this LED is lit, the ice storage bin is fu
25 3. Yellow LED: Ice Harvest indicator light. When this LED is lit, the unit is working in the ice harvest mode controlled by a temperature probe
TROUBLESHOOTINGBefore Calling for ServiceIf the unit appears to be malfunctioning, read through the OPERATION section of thismanual first. If the prob
Problem Possible Cause Probable CorrectionWater is leakingfrom the unit.A few water drops fall tothe floor when you open the door to take out ice from
LIMITED WARRANTY MC Appliance Corporation warrants each new Commercial Ice Maker to be free from defects in material and workmanship and agrees to r
ICE MAKER SAFETYYour safety and the safety of others are very important.We have provided many important safety messages in this manual and on your app
ÍNDICE Página SÍMBOLOS Y ADVERTENCIAS DE SEGURIDAD ·············· 30ADVERTENCIAS DE SEGURIDAD ··············
SÍMBOLOS Y ADVERTENCIAS DE SEGURIDADSu seguridad y la seguridad de los demás es de suma importancia.Tanto en este manual como en la máquina, encontrar
ADVERTENCIAS DE SEGURIDADLeer atentamente este manual, ya que antes de poner en servicio lamáquina para hacer hielo, es necesario ubicarla
•Mover e instalar la máquina entre dos personas como mínimo. Si lo hace una solapersona, hay riesgo de que se lesione por el esfuerzo excesivo.•Para q
protegerse las manos. Leer atentamente las instrucciones de seguridad para el manejodel material, que se encuentran en el envase del producto de limpi
Información técnicaModelo EWCIM65S EWCIM90S EWCIM120SAlimentación eléctrica115VCA ~ 60Hz ~470W115VCA ~ 60Hz ~520W115VCA ~ 60Hz ~580WCorriente nominalh
INTRODUCCIÓNLas máquinas para hacer hielo Norpole® serie EWCIM son aptas para uso doméstico, enbares, restaurantes, hoteles, supermercados, etc. Produ
UBICACIÓN DE COMPONENTES DE LA MÁQUINA36Tapa frontal PuertaRecipiente de aguaTablillas deventilaciónRodillos para nivelarCuchara para hieloBotón de en
INSTALACIÓN de la MÁQUINADesembalajeQuitar los materiales de embalajeIMPORTANTE: No quitar las etiquetas fijas de instrucciones ni la etiqueta de dato
•Para que la máquina tenga ventilación adecuada, no debe haber ninguna obstrucciónen el frente de la misma. Para que haya suficiente circulación de ai
IMPORTANT SAFEGUARDSBefore the ice maker is used, it must be properly positioned and installedas described in this manual, so read the manual
patas, se puede regular la altura de la máquina. En la sección “Nivelación de lamáquina” se pueden ver más detalles de este procedimiento.•La máquina
Circuito de descarga a tierraPor razones de seguridad personal, esta máquina debe tener circuito de descarga a tierra.La máquina viene equipada con un
IMPORTANTE:1. La instalación de plomería debe cumplir con los reglamentos municipales vigentesque correspondan. La instalación profesional se recom
Conexión del drenaje: Con este tipo de máquina para hacer hielo, se utiliza un drenaje por gravedad. El agua excesiva fluye al drenaje por la
Instalación en cerramiento:En este caso, la máquina se puede instalar bajo un gabinete o bajo un mueble de cocina,manteniendo las distancias de separa
USO DE LA MÁQUINALista de control final antes de la puesta en servicio1. ¿Se han quitado todos los materiales de embalaje y cintas adhesivas del int
Método de uso1. Encender la máquina con el interruptordel panel al lado derecho. Se encenderála luz indicadora y la máquinacomenzará a funcionarauto
Congelamiento: Durante el ciclo de congelamiento, el compresor bombea refrigerante, el ventilador hace circular aire y la bomba de agua hace circular
•Se escuchará un silbido cada vez que la válvula de agua se abra para llenar elrecipiente en cada ciclo.•Podría escucharse un ruido vibratorio, que es
LIMPIEZA Y MANTENIMIENTOLa limpieza y el mantenimiento periódico de la máquina prolongará su vida útil ypermitirá que funcione siempre con máxima efic
•The ice maker should not be located next to ovens, grills or other sources of high heat.•The ice maker must be installed with all electrical, water a
limpiar la unidad. Utilizar una esponja suave y enjuagar con agua limpia. Secar con unatoalla limpia de tela suave, para evitar que queden manchas de
50Limpieza internaLimpiar de vez en cuando el recipiente de cubos de hielo. Además, el recipiente de cubosde hielo se debe limpiar antes de poner la m
2. Sacar las tapas segmentadas, chasqueando un fin hacia arriba y estirando adelante.3. Sacar la guía de deslizamiento del recipiente de agua.4. Levan
6. Limpiar el interior del recipiente de agua con la misma solución desincrustante y agua tibia. Enjuagar bien con agua limpia. 7. Volver a i
5. Esperar unos 30 minutos para que se haga una buena limpieza, apagar la máquina con el interruptor y quitar la tuerca del orificio de salida de d
Tablero de control (detrás de la tapa frontal)Descripción de luces (LED) y botones:1. LED rojo: Luz indicadora de recipiente de hielo llenoCuando se e
55 3. LED amarillo: Luz indicadora de ciclo de recolección. Cuando se enciende esta luz en forma continua, significa que la máquina está en el ci
DIAGNÓSTICO DE FALLASAntes de llamar al servicio de reparaciónSi la máquina manifestara síntomas de estar funcionando defectuosamente, leeratentamente
Problema Posible causa Solución probableHay pérdida de agua.Podría haber caído agua alpiso al sacar el recipiente deagua.Condensación normal en la pue
1GARANTÍA LIMITADAMC Appliance Corp. autoriza cada máquina automática para hacer hielo nuevo para estar libre de defectos en material y la ejecución y
it is your responsibility and obligation to have it replaced with a properly grounded3-prong wall outlet. The ice maker should alwa
INTRODUCTIONThe Norpole® EWCIM Series of Ice Makers finds wide application in households,bars, restaurants, hotels, supermarkets, etc.
COMPONENT LOCATIONS7Front coverDoorIce cube full sensorWater sumpVentilation louversLeveling caster Ice scoop Ice storage bin Right sideTop coverPower
8ICE MAKER INSTALLATIONUnpackingRemove packaging materialsIMPORTANT: Do not remove any permanent instruction labels or the data label on yourice maker
© 2020, manymanuals.com. All rights reserved. | 2.457 s |
 Manymanuals.com
 Manymanuals.de
 Manymanuals.fr
 Manymanuals.it
 Manymanuals.pl
 Manymanuals.cz
 Manymanuals.es
 Manymanuals-pt.com
Comments to this Manuals